 Cisco SD-WAN Multi Tenancy Configuration
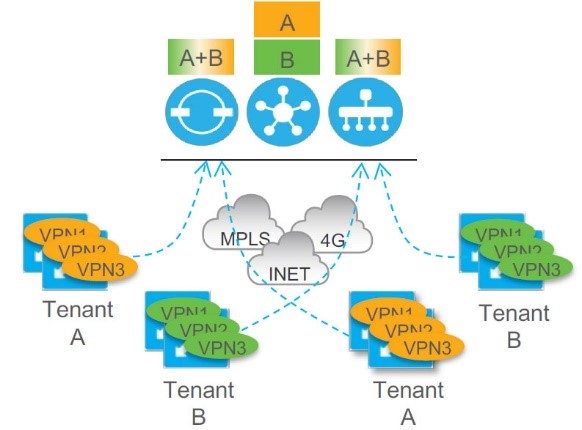
Considerations:
Cisco’s Multi-Tenancy SD-WAN allows service providers to manage multiple customers from a single vManage. All tenants share the service provider’s domain name (in this example the domain name being vpnv4.com). Per Cisco’s design vBond and vManage are shared among all tenants while vSmart is a tenant dedicated entity that cannot be shared with other tenants”. This document assumes that you’re already familiar with the installation process of all 3 controllers (vSmart/vBond/vManage). Since this is a lab design, self-signed certificates were used, keep in mind in reality I highly doubt customer would want to use this option due to the known security risks. Below are some key factors to Cisco’s SD WAN Enterprise Tenancy:
-Full Enterprise Multitenancy
-vBond and vManage are shared across customers
-vSmart is dedicated to specific customer deployment
-Supported in all deployment models
-VPN numbers can overlap
Lab Topology overview:

Requirements:
vManage: 1vManage “Mandatory” Shared with all Tenants
vBond: 1 vBond “Mandatory” Shared with all Tenants
vSmart: 1 vSmart per tenant (more vSmarts per tenant is highly recommended for redundancy)
Dns: you’ll need to be able to manipulate dns entries for your tenant’s organization names in order to allow per tenant vManage access.
vManage Configuration:
The default installation of vManage will set the controller to “Single Tenant”. Therefore, we must change this attribute to Multi-Tenant from Administration/Settings menu, once the change takes effect the system will reboot:
The next section is going to be the tricky part which plays an important role in allowing tenants to access their vManage dashboard. Under Administration/Tenant management we’re going to add our first customer:
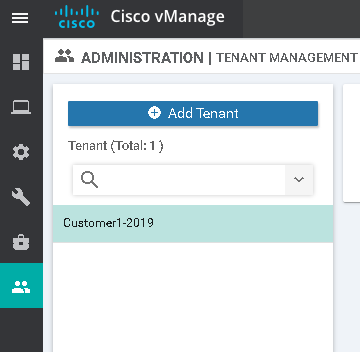
Let’s go ahead and add a tenant:
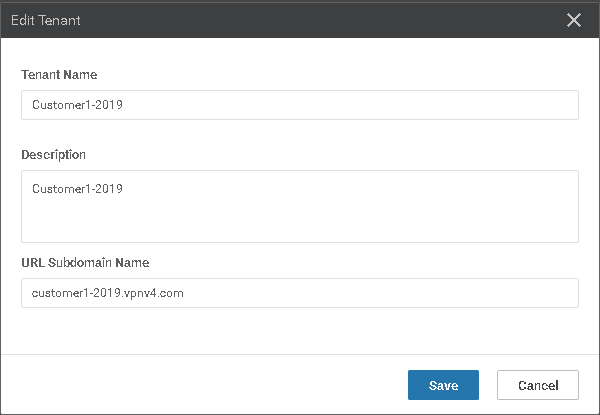
The most important field to fill here is going to be “URL Subdomain Name” this needs to be a fully qualified domain name that you would provide your tenants in order to access their vManage instance. Tenant Name is the field that your tenants will fill in their vEdge bootstrap configuration under “Organization-Name”. Each tenant/Customer must have his unique organization name while sp-organization-name attribute is mandatory and must be shared among all tenants. In our example the sp-organization-name is the provider’s organization “vpnv4”. Modify your DNS entry so that customer1-2019.vpnv4.com points to your vManage IP Address. This step would allow your tenant to access his vManage instance via the FQDN you’ve created.
At this point our first tenant has been successfully provisioned and all what’s left to do is assign our tenant with his own vSmart. Here’s where things get a bit tricky, since vSmart is tenant dedicated the bootstrap configuration of customer1-2019 vSmart controller should be as follows:
system

host-name             vSmart-Customer1-2019

system-ip             1.1.1.3

site-id               1

admin-tech-on-failure

sp-organization-name  vpnv4

organization-name     Customer1-2019

vbond 10.12.12.206
hostname “Customer’s flavor”
sp-organization-name this attribute will be the same for this customer’s vSmart and vEdges
organization-name this attribute will be the same for this customer’s vSmart and vEdges
vManage bootstrap configuration:
host-name             vManage-1

system-ip             1.1.1.1

site-id               1

admin-tech-on-failure

sp-organization-name  vpnv4

organization-name     vpnv4

vbond 10.12.12.206
vBond bootstrap configuration:
system

host-name               vBond

system-ip               1.1.1.2

site-id                 1

admin-tech-on-failure

no route-consistency-check

sp-organization-name    vpnv4

organization-name       vpnv4

vbond 10.12.12.206 local vbond-only
As you may have noticed in my configuration, vManage/vBond must have the same exact organization-name as well as sp-organization-name, this value can not overlap with your tenants/customers. To recap : all customer vEdges/vSmarts will have 1 set of configuration, while Service provider vManage/vBond will have 1 different set of configurations. We’re going to proceed in adding our first customer’s vSmart controller from Configuration/Devices/Add Controller “vSmart”:
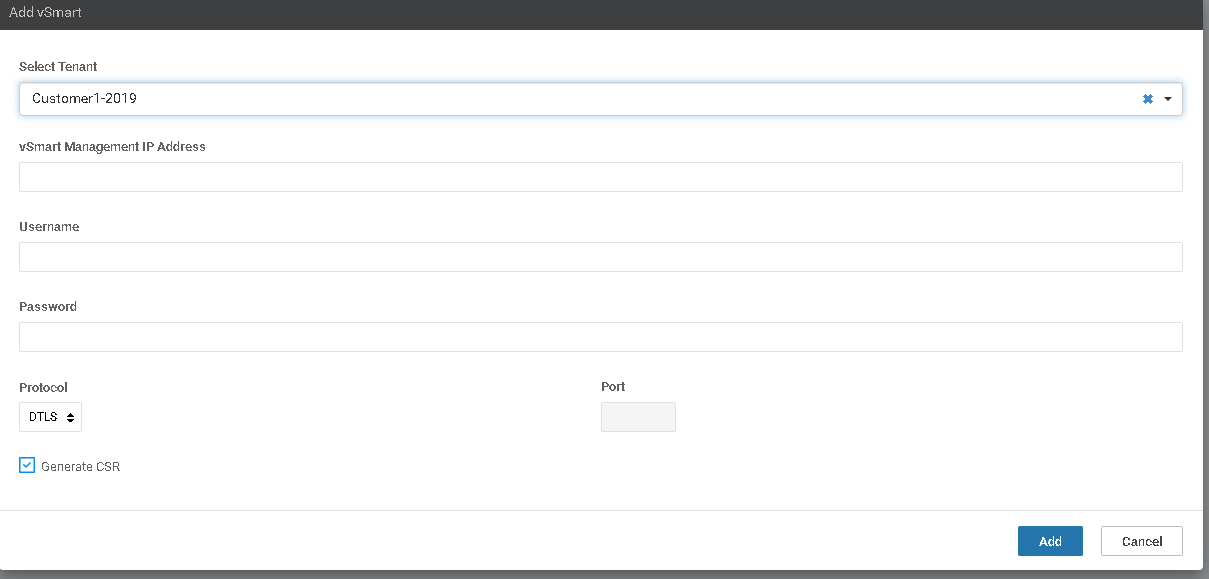
Customer1-2109 will pop in a drop-down menu so you won’t have to fill it in manually.
Add your SP vBond:
Go to Configuration/Devices/Add Controller “vBond”,
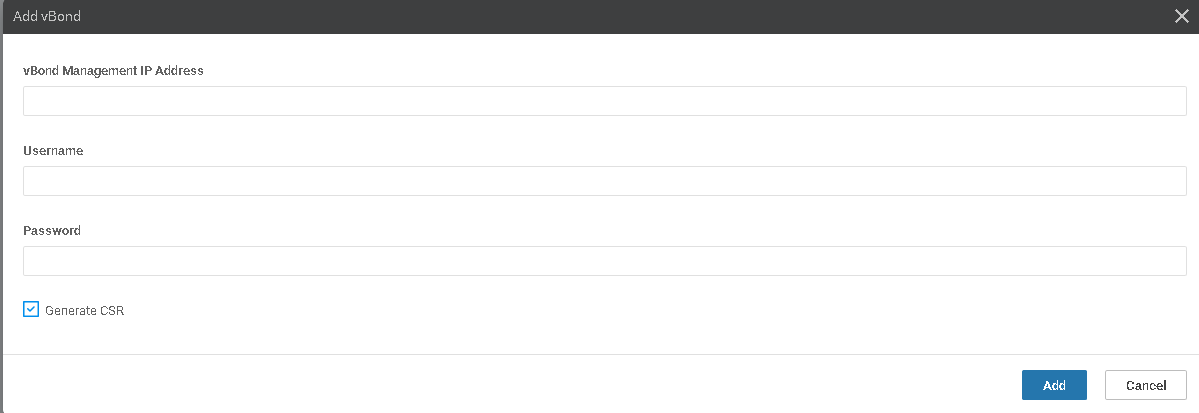
Once your provisioning is complete, you should see something similar to this:

If you wish to add more teannts , repeat the above procedure keeping in mind you’ll need a minimum of 1 vSmart per tenants and that vSmarts cannot be shared between tenants.
Customer1-2019 vEdge Bootstrap:
system

host-name               vEdge-1

system-ip               10.255.254.86

site-id                 100

admin-tech-on-failure

no route-consistency-check

sp-organization-name    vpnv4

organization-name       Customer1-2019

vbond 10.12.12.206
Verification:

Go to vManage dashboard:


Once you click on Customer1-2019 dashboard you’ll be automatically redirect your tenant’s dashboard with full admin rights:

Here we can see we a dashboard that is identical to a “Single tenant” installation with one twist at the top if you’ve noticed “provider/Customer1”. This shows that you are logged on to your customer’s dashboard via your providers dash.
Assign admin access per tenant:
From the menu above while logged on to your tenant’s dash go to settings/manage users:
under user group choose “tenantadmin”, this attribute will assign the user admin privilages on his dashboard only

Test your tenant’s dashboard access:
At this point let’s go ahead and log out of the provider’s dashboard. If you recall when adding our first tenant we created an FQDN for his organization: Customer1.vpnv4.com à 192.168.10.21 (Shared vManage IP)
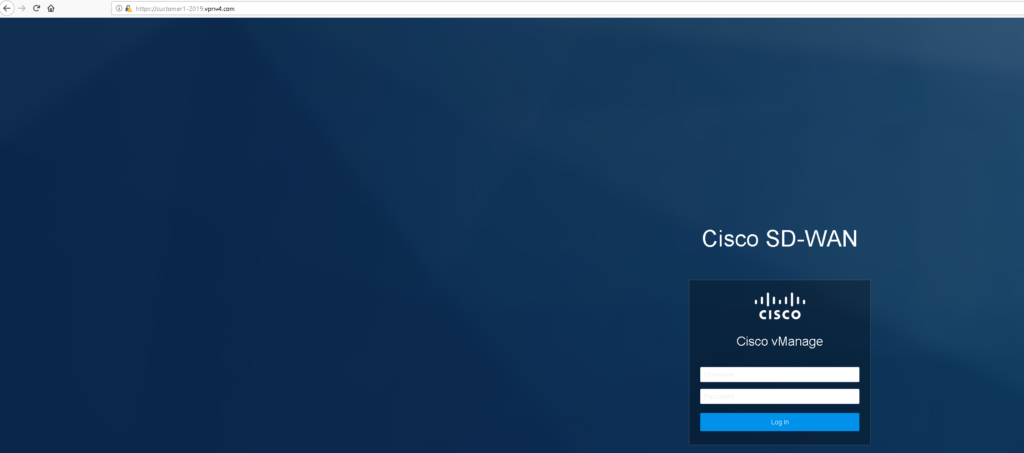
Do not get confused, at this point you are not at the provider’s dashboard but rather at your Customer/Tenant’s dash!. Go ahead and login with the credentials you’ve created earlier:

As you may notice the tenant is now able to access his dashboard and can only manipulate his own devices/vSmart policies without impacting other tenants.
You may be wondering how is this working when it’s1 shared vManage instance with the same exact IP? The answer is it all goes back to the “URL Subdomain Name” we’ve created when we added our tenant. When the tenant is accessing the specified FQDN vManage is comparing the “URL entry to the Tenant’s URL you created” and based on that a redirection is taking place. Wondering what would happen if you open your vManage URL by ip address? The answer is you’ll be redirect d to your provider’s Dashboard.
Published: 19-01-25